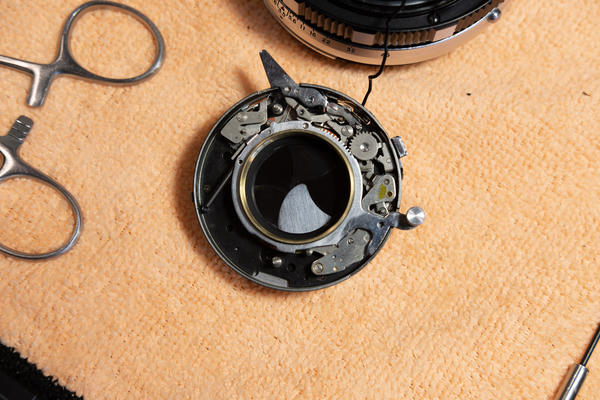
Repair: Mamiya-Sekor Press 90mm f/3.5
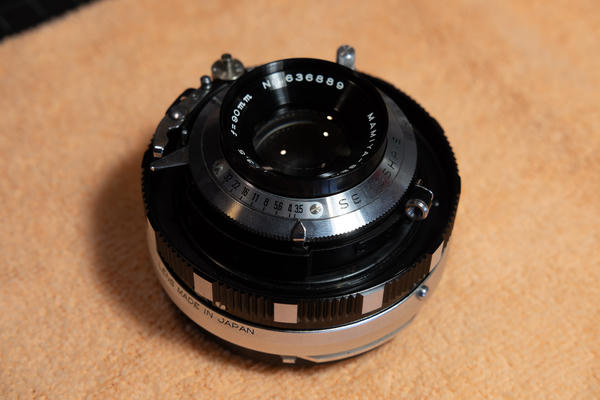
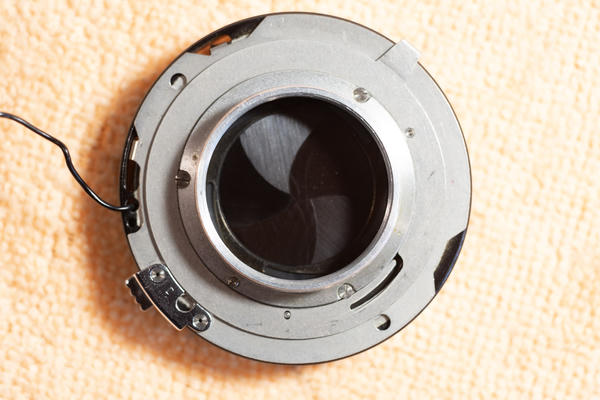
This is a Mamiya-Sekor 90mm f/3.5 lens for the Mamiya Press system. It's the standard kit lens for the Press cameras before the Universal and Super 23 were made. I bought this lens as a reference for a previous repair, I ended up resolving those issues and hadn't taken much time to look at this lens. This lens has some standard issues: The aperture blades are gummed up and wont move and the focus is VERY stiff (so stiff I had to put gloves on to get it back to infinity without cutting my hands).
The first step is to remove the shutter from the lens housing. To do this there's a ring on the back that should be removed. I recommend removing the rear cell first as this can often be done easily by hand and makes the subsequent steps easier.
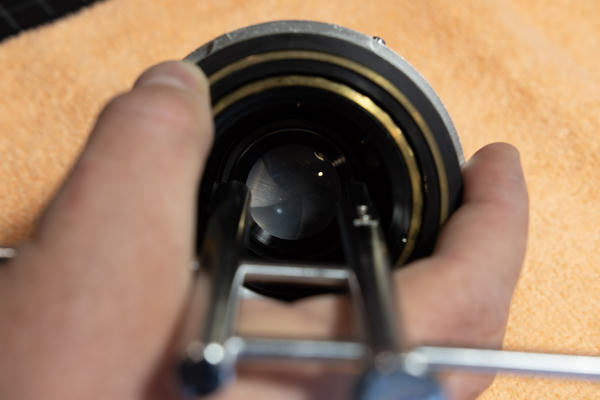
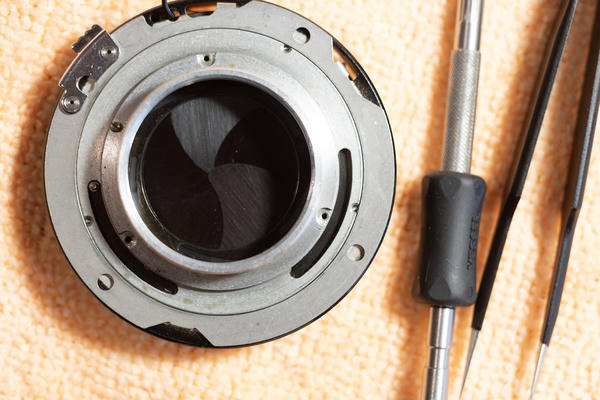
Once that's off, you'll have to slide the shutter off of the lens housing. The flash setting lever is set in a slit that can require some jiggering to get out properly. The PC sync port is attached with a wire, some lenses will have a small slit that allows you to remove the port from the lens, some don't and you'll need to desolder the port from the wire to remove it.
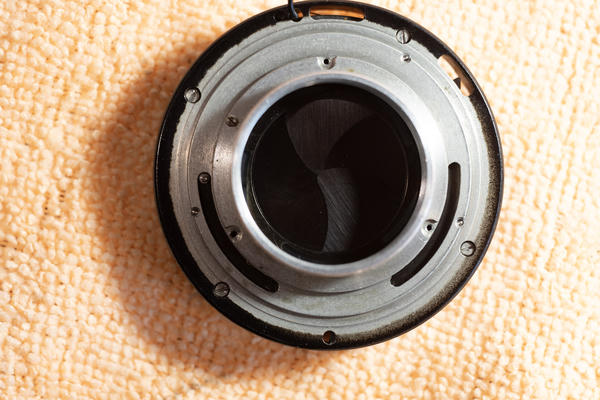
At this point the shutter should be removed from the lens housing and you can remove the front cell.

In order to disassembly the shutter the first step is to remove the lock ring that holds the top of the shutter all together. There is a small set screw that locks the ring that must be removed first (warning it is very small). After that the ring can be removed. The cover plate, and shutter timing set ring, and the control ring are all just set in place on top of this. Remove each one and note how it was put in. While there is only one way to put it back together, studying this a little will help when it comes time to put it back together.
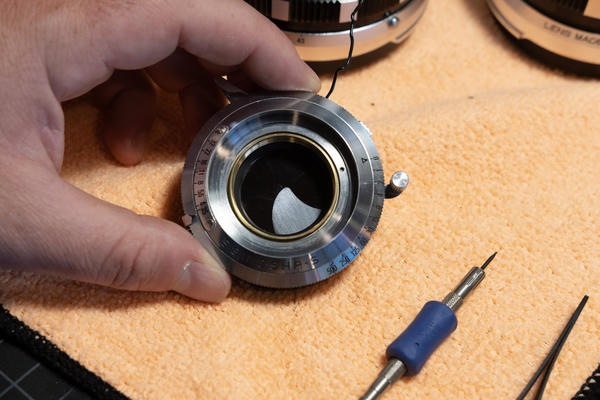
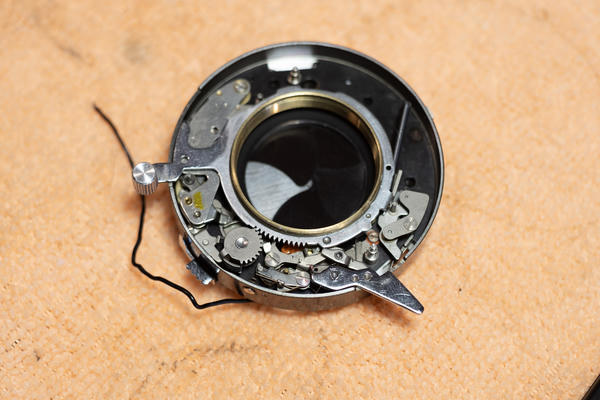
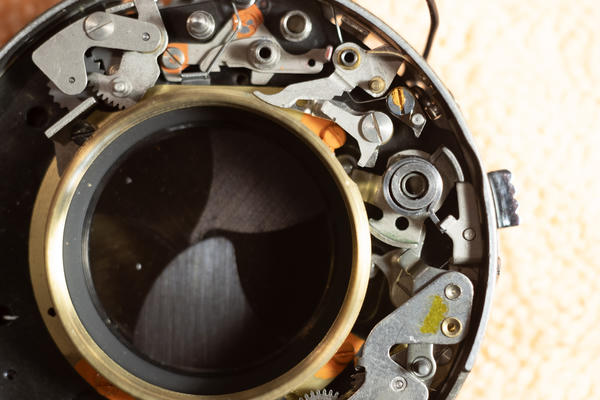
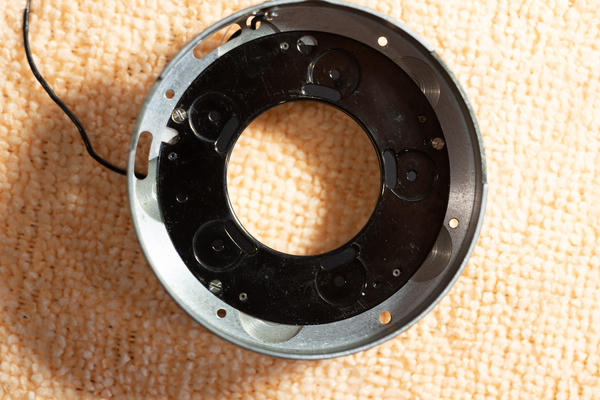
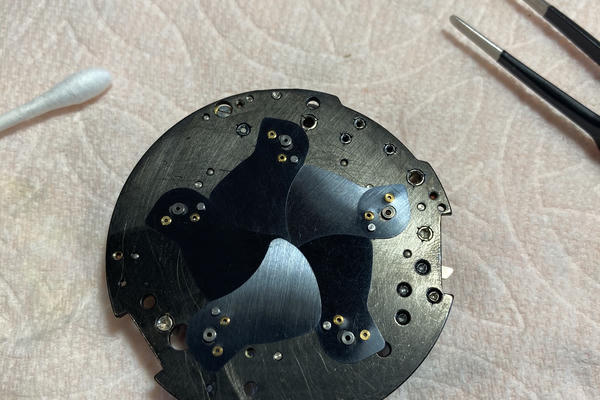
At this point your shutter should look like this (note: there were a number of variations of this shutter made and they have minor differences):
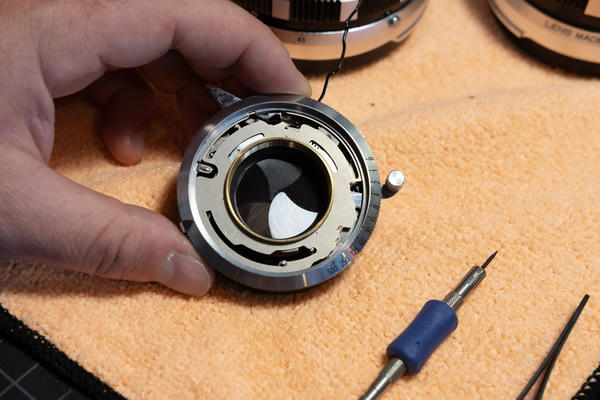
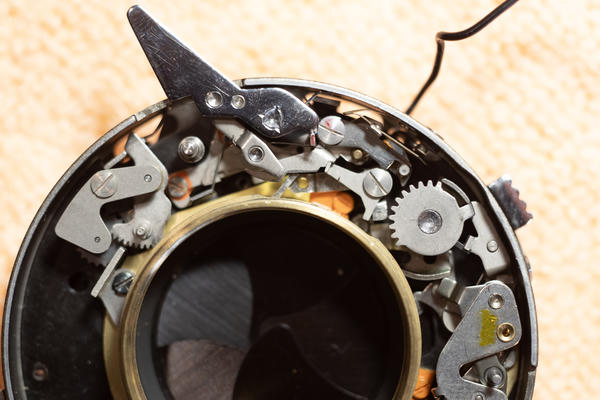
In order for us to clean the aperture and shutter blades we need to remove the plate that holds the various parts from the shutter housing. To do this safely we first need to remove from the plate the parts that have sprints tensioned against the housing. If you don't do that first you risk bending or breaking the springs as well as making reassembly very difficult
First I remove the winding spring:
Then I remove the shutter lever and little guy next to it:


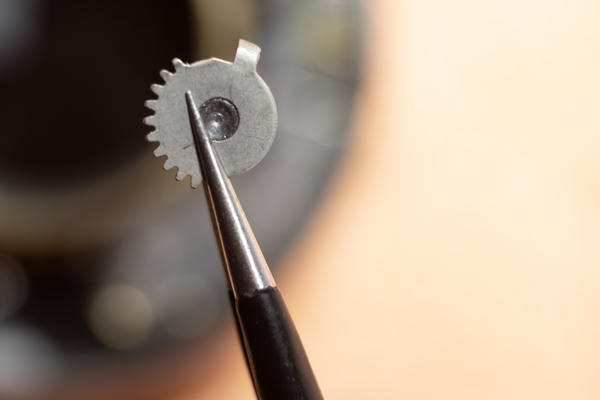
Then I remove the main spring gear:
Next is this little screw that holds the return spring for the shutter blades and a locking detent for the flash setting ring.
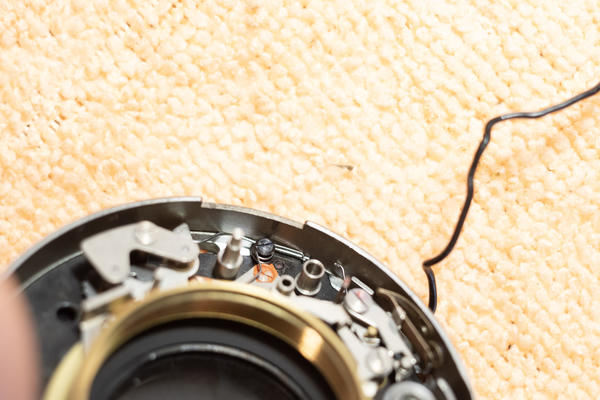
As a warning, this screw is a pain to get back in. The process I've landed on is to first set the detent spring down slightly to the right of where the screw hole is. Then I place the screw with the detent spring attached near that spring further to the right, then I place my tweezers slightly to the left at the edge of the plate, and with a slotted screw driver I position it into the slot while pushing towards the hole to the right. Usually using this method I can tension the springs and manage to hook it into the hole with a couple of tries.
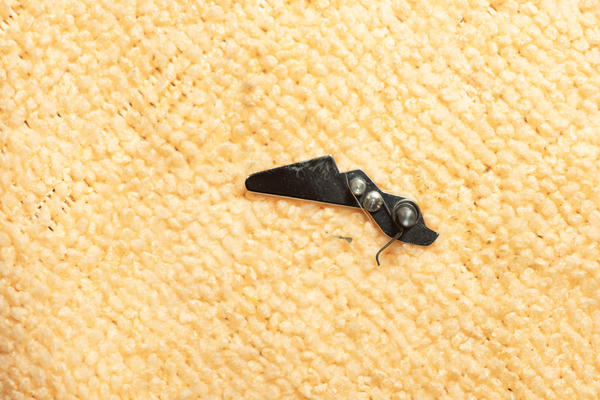
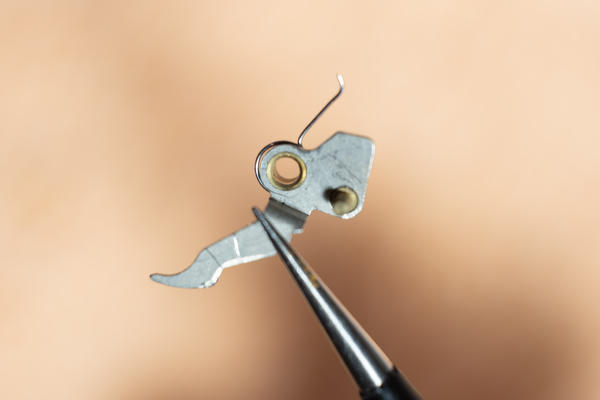
Lastly I remove the two pieces that form the shutter catch (the hole the main spring tensioned until the shutter lever is pressed). One looks like a J and the other looks like a lightning bolt.

With those two pieces out of the way we have removed all the parts with tension springs. We can then flip the shutter over and remove the aperture ring and flash setting ring.
With both rings removed you can then remove the retaining screws that hold the parts plate to the shutter housing:
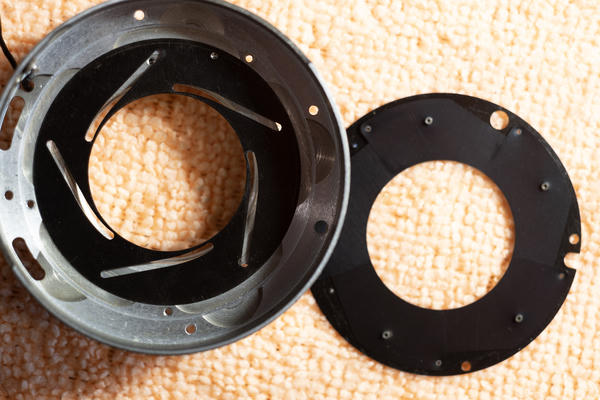
Flip the shutter back over and carefully remove the parts plate. Note that the shutter blades will probably come out all a mess. Usually a few will be stuck to stuff and some won't be. This is all fine. Just set them aside for cleaning later.
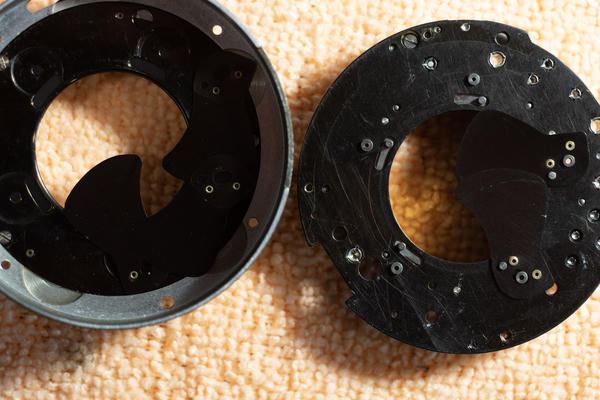
Under the shutter blades will be a plate that holds the aperture blades against the bottom of the shutter housing. Remove the three screws and the aperture blades.
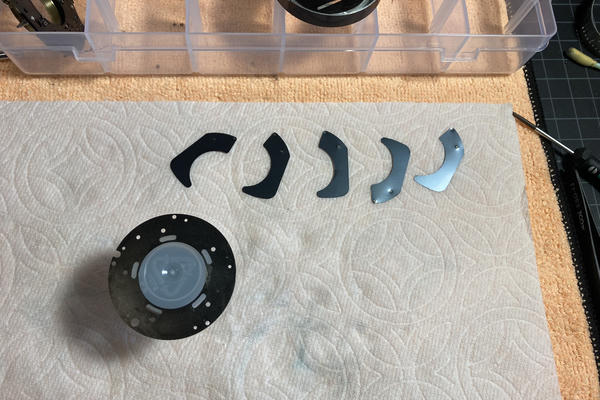
At this point your shutter is completely disassembled. Take this time to clean all the surfaces and each blade. Sometimes a soaking in naphtha or isopropyl alcohol will help clear away persistent grease and grime. When everything is good and clean reverse this process to re-assemble the shutter.
I didn't remember to fully document my process for reassembling the various blades, it's tricky. For a shutter this size I like to set the parts on an old film canister and reassemble from there. I use a pair of blunt tipped tweezers to avoid scratching along with a toothpick to help position the blades back into place. The aperture blades will be easy until the last one that needs to slide under the first one, but if you're patient it should work out okay.
Anyway, that's what I have documented, if you have questions shoot me an email and I'll see if I can dig up more resources.