Repair: Argus C3
After the challenges that I had with repairing my Olympus 35SP I wanted to step back and think about how I could learn and grow and repair. I got a recommendation to try starting at the beginning of the enthusiast cameras and moving forward one step at a time. So I bought a Kodak Brownie! I should write a quick post about that camera too, but I don't have anything to say about it that hasn't already been said. And this post is about the Argus C3.
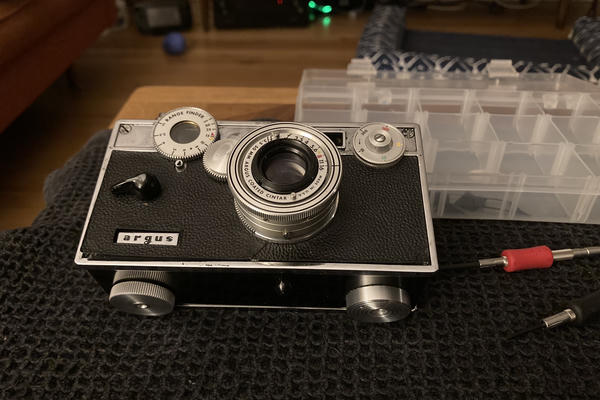
The Argus C3 is a classic american camera, it is boxy, heavy, inellegant, simple, and super easy to repair! There were millions of them sold and they can be picked up for cheap used all over the country. This made it a great candidate to be my next camera attempt. The camera came with this description:
Shutter fires, is not accurate, is sticky at 1/10th setting. Rangefinder is very foggy, almost impossible to use, and needs adjustment. Lens has minimal internal dust, no haze or fog. Focus is very stiff
I liked this camera because it was, clean, the lens was in great shape, and it was appropriately priced ($15).
Sticky Shutter
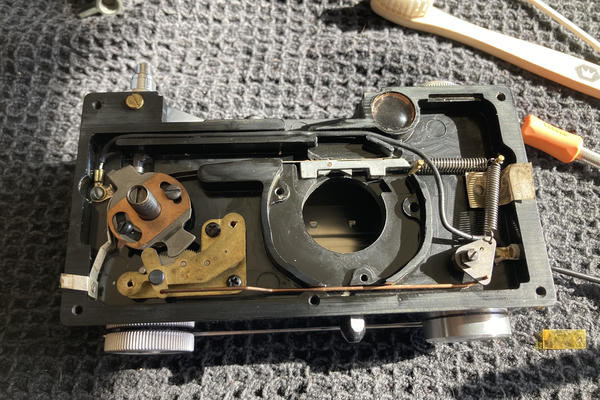
The first issue I wanted to look at was the shutter speeds. When cocked and fired the shutter blades frequently got stuck, a second shot might get them to move, or not. The Argus C3 has a focal plane leaf shutter and is pretty easy to get access to. After opening the front of the camera it only requires three screws to remove the entirea assembly.
The first thing I noticed on opening the camera was that it was pretty clear what the issue with the shutter was. There was grease all over the body of the camera, and SAND in all the grease. It was clear grease on the shutter blades. I pulled the shutter out and cleaned it with lighter fluid. Some actuation of the shutters later and the shutter moved smoothly again.
Stiff Focus
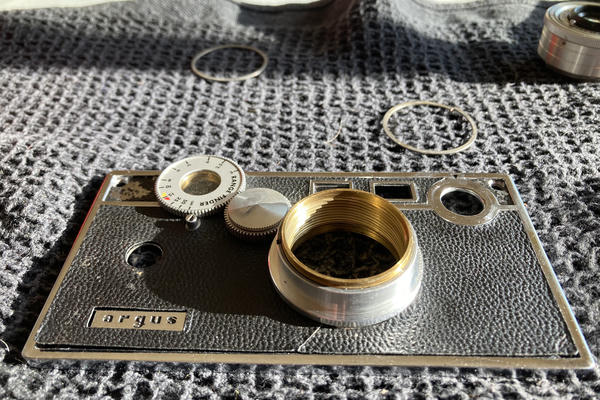
It was apparent to me until I set about cleaning the lens action that this Argus C3 is an interchangable lens rangefinder! Argus produced a small range of lenses for the camera on a 33mm mount. Happily this makes is quite easy to remove the lens and get it fixed.
Getting access to the helicoils only requires removing one set screw and then the two pieces unscrew. Inside of the lense we found... more grease and sand. After clearning the lens and adding a small amount of oil the lense movement was restored.
I found getting the coils back together to be a little tricky. I left a mark where the groove for the set screw should end up, but this wasn't super helpful. The challenge ends up being lining up the lens action with the gear teeth on the outside endge of the lens that operate the coupled rangefinder. The trick ends up just being each of the 6 helicoil positions until you find the one where the lens top screws all the way down to the bottom.
Foggy range finder
Pretty easy to clean. The viewfinder assemebly is held in by a single snap roing on the back of the camera. Opening that up there two lenses, spaced by what appears to be a little cardboard tube. Cleaning the lenses and re-assembling fixed the issue entirely. Note to folks, the order of those little lenses matters, I ended up having to play with it a bit. The bigger lens should have a flat side, that side goes towards your eye.
Shutter speeds
The Argus C3 puports to support shutter speeds from 1/300 to 1/10. In practice folks suggest that 1/300 was always more like 1/200 and the way the system works the speeds in between are pretty much guess work. That being said my camera had some specific issues.
I noticed that after repairing the shutter that the shutter blades weren't opening entirely, and measuing shutter speeds I was getting 1/200th across the board. The issue ended up being that the shutter cocking cam wasn't positioned correctly.
The way the shutter cocking mechanism works is that as you rotate the shutter cocking arm, it rotates an assmebly in the body of the camera, that pulls a metal ribbon. The ribbon pulls a little carriage with a shaped buttom that moves the shutter actuator. Turned far enough and the assembly catches on the shutter trigger and waits for a press.
Adjusting the assmebly angle allows you to fine tune the position of the carriage so that the shutter actuator is properly moved. Fixing that also put the assambly's bottom flange in the right position for the shutter speed adjustment armg thing. So yeah.
Finally you can fine tune the shutter speeds themselves with this little triangle that translates the downward arm of the shutter speed dial into tension on a spring in the shutter speed assembly. Tweaking that got us closer (but it's still not great). I think when I shoot with it I'll mostly try to be in 1/200 and when I slow down I'll try to give that some lattitude.
Range finder adjustments
Given that I'd been mucking acbout with the rangefinder and lens I figured I should check that it's adjusted correctly. (Side note, the way interchangeable lenses work with this system makes this all a bit of a guess). But the rangefinder seemed good. I tested at 25' and infinity and it worked perfectly.
Final wrap up
The last thing I had to do was replace the leatherette and clean everything up. Replacing leatherette sucks, the previous glue turned into nasty black sludge and got everywhere, and pliobond smells terrible. Would not recommend, my least favorite part so far.
Resources: